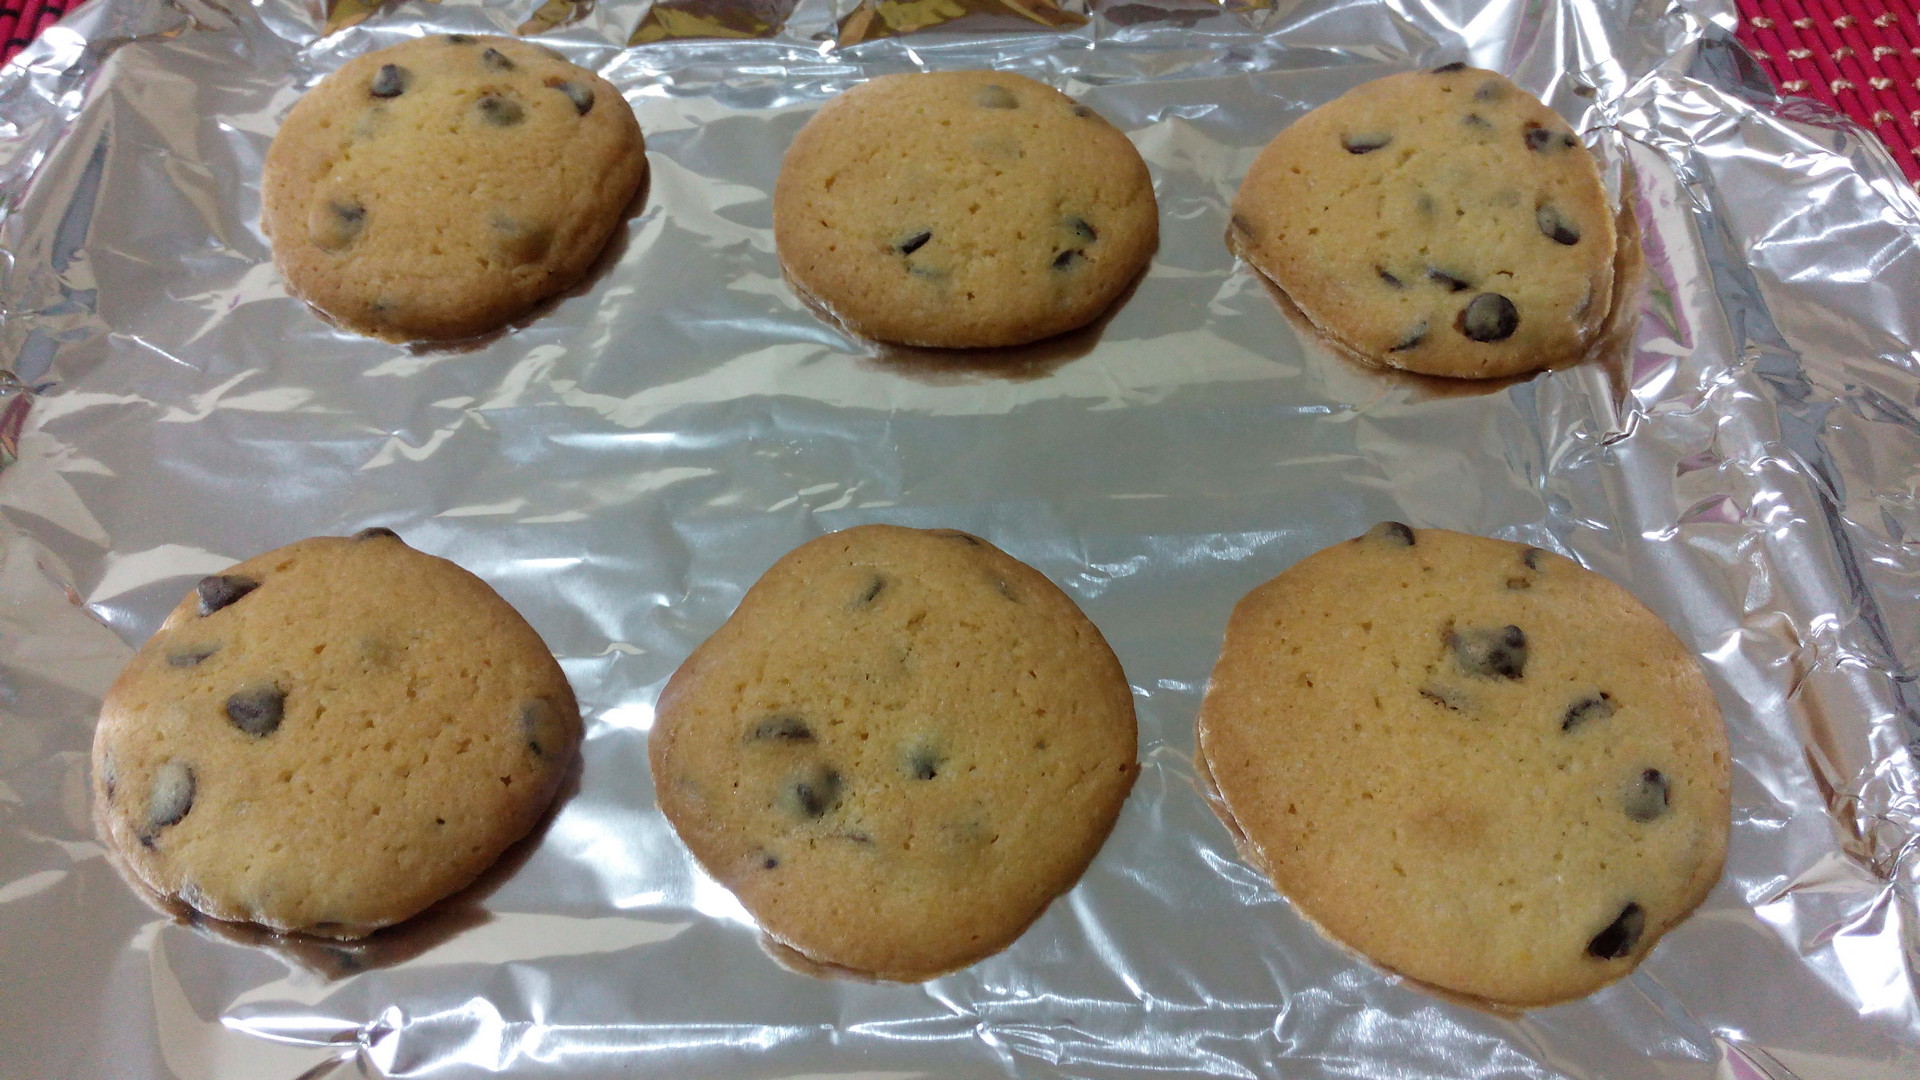
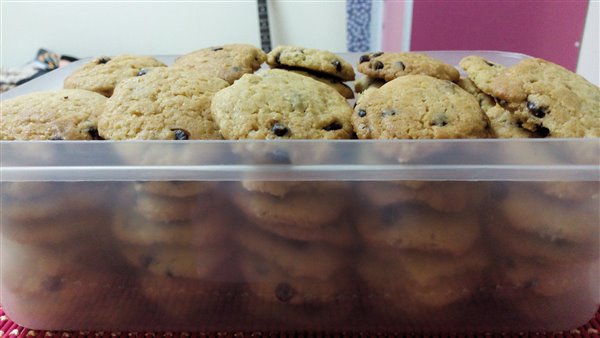
This was the very first pastry I baked and I suspect one of the easiest to practice on when you’re still an amateur in the baking field. I don’t claim myself being a professional since I don’t have a certificate to officially label myself a pro. However, I could say that I am proud of myself that I am able to fulfill my passion inspired by such magical happenings in my life. Magical indeed! I was never expecting that I will be baking too soon. Lucky to have an inspiration that encourages me on the things that I am interested in and where my heart is really into.
What makes an easy recipe more special is when you love what you are doing. Requested by the people you love for you to bake it and it’s your most pleasure to do so that makes the outcome taste like it was created by a pro.
INGREDIENTS:Yield: 50
- 227 grams unsalted butter (room temperature)
- 1 ½ cup brown sugar
- ¼ cup white sugar
- 1 teaspoon pure vanilla extract
- 2 large eggs
- 2 cups all-purpose flour
- 1 teaspoon baking soda
- 1 teaspoon fine salt
- 1 1/3 cup dark chocolate chips
DIRECTIONS:
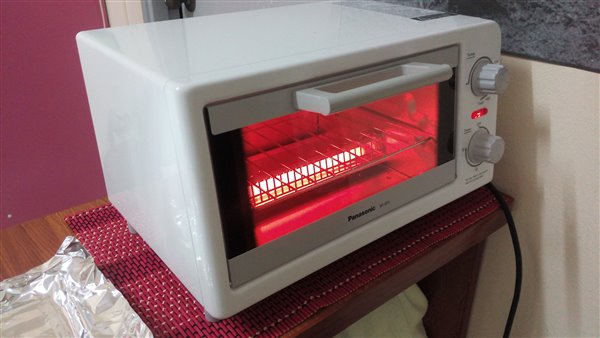
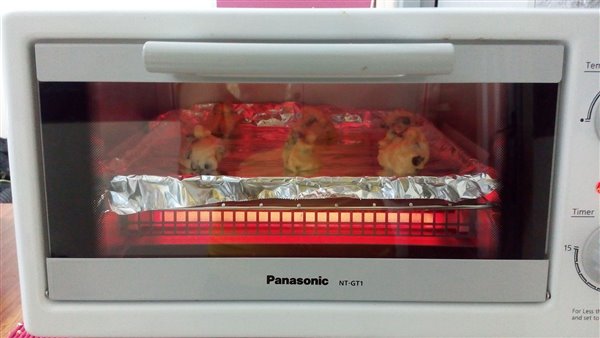
- Preheat your oven at 375 degrees. My oven doesn’t indicate a particular temperature. Though the manual stated a direction of setting it to medium heat for baking cookies.
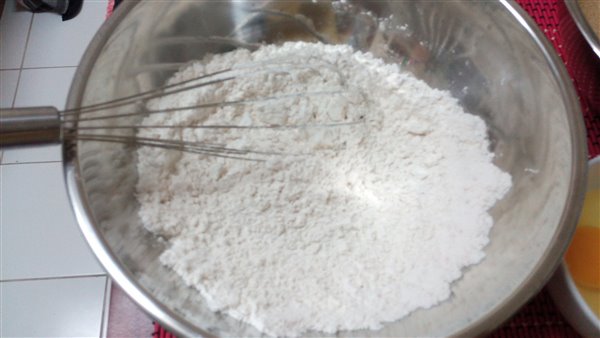
 Whisk all the dry ingredients together (all purpose flour, baking soda, and salt) in a mixing bowl.
 In a separate mixing bowl, cream the butter and sugar. You can use either an electric mixer or just your hand using a ladle or scraper. Put in the vanilla then add the eggs one at a time. I am making a chewy cookie, so the secret of reaching that texture is the amount of brown sugar you use. (Sad part for us being a health conscious, this is definitely not a diet snack!)
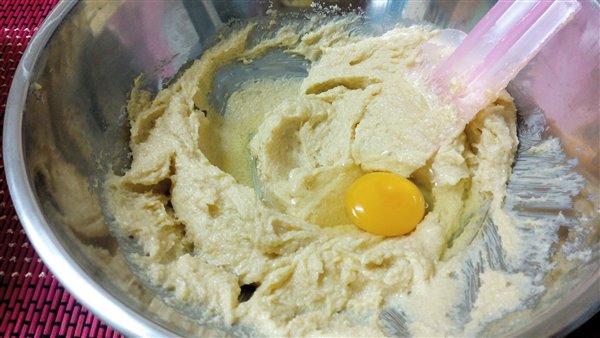
- Gradually add the dry ingredients into the wet ingredients. Note: Do not over mix! Over-mixing the cookie batter will result to cookie crumbles and dryness. Remember! We are aiming to have a chewy cookie as our finished product.
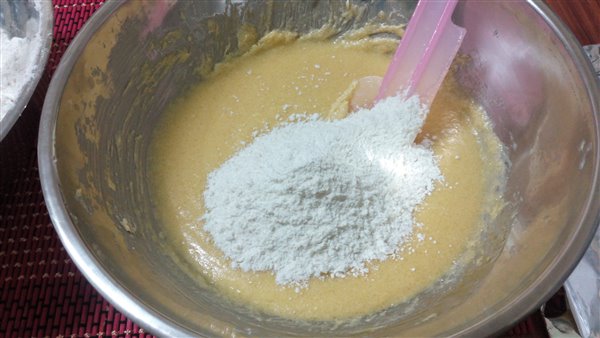 As they are all incorporated well, fold in the dark chocolate chips.
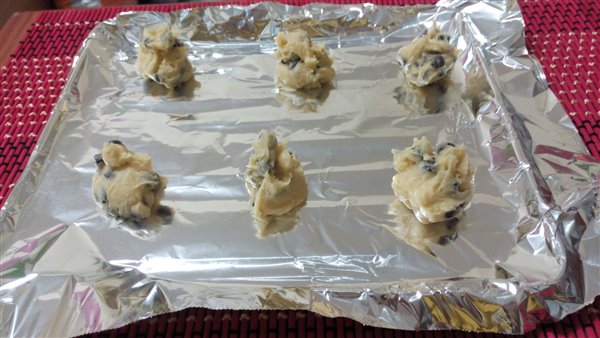
- Layer a sheet of foil on the baking pan and brush it up with some tiny amount of melted butter. (My type of oven won’t allow parchment or baking sheet for it will cause a fire in the oven. So better be resourceful, careful and efficient.) Scoop out a teaspoonful and row them up on the pan, you should be making at least 6 to 9 pieces in a batch still giving them enough spaces or room in between so they will maintain that round shape when they spread out.
 Bake them for about 8 to 10 minutes. Better if you keep an eye on it because we don’t want to over bake it and lose the texture we want.
- Prepare the next batches on a buttered foil and just switch it to the baked batch. Let the baked ones cool down for 2 more minutes before transferring them on a cooling rack to completely cool them.
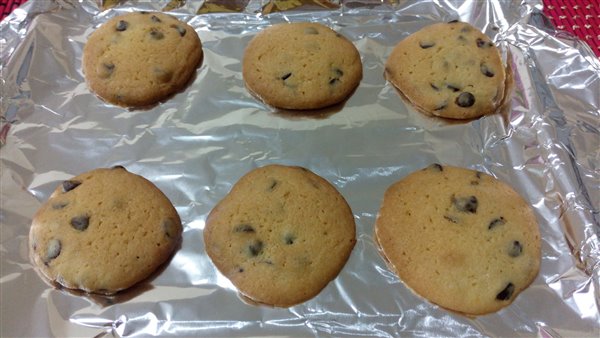
- Put them in a nice and clean jar, Tupperware or can and store in the fridge to prolong its freshness.
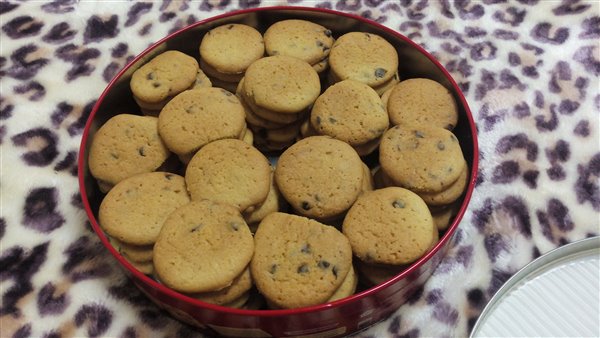
This could be an ideal token, gift on any occasions or even just a snack at home. Easy, lovely and sweet when you know you made it yourself with love in your own little kitchen with your cute little oven.
